How to Make Stencil Templates - A Practical Guide
A practical step-by-step guide to making your own stencil templates. Covers design basics, material choices, cutting techniques, and tips for creating templates that last.
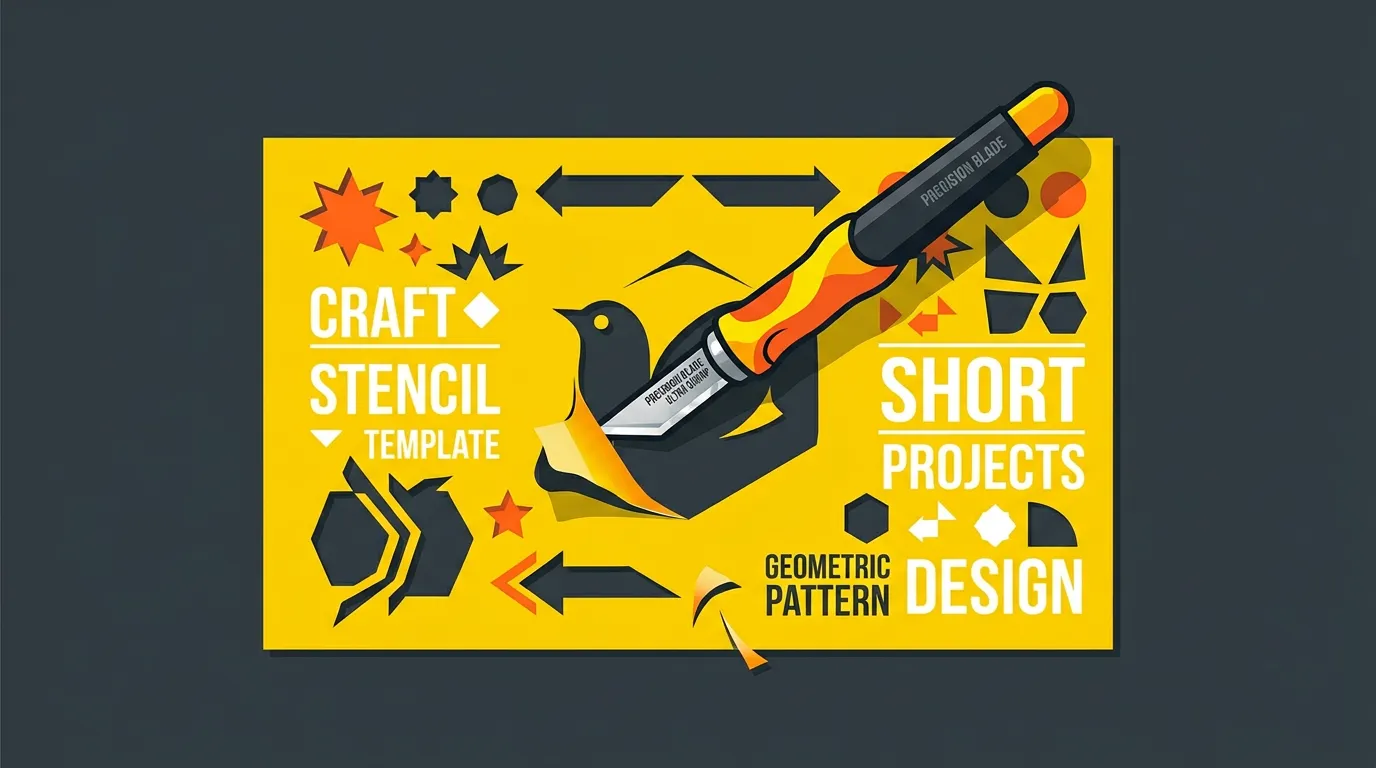
How to Make Stencil Templates - A Practical Guide
Making your own stencil templates is one of those skills that sounds more complicated than it actually is. I've spent years helping people create templates for everything from wall murals to t-shirt designs, and the honest truth? With the right approach and a bit of patience, anyone can do it. Let me walk you through what I've learned.
Why Make Your Own Templates?
Before we dive into the how, let's talk about why you might want to create templates from scratch. Off-the-shelf stencils are fine if you find one you like, but they're limiting. You're stuck with designs that match someone else's vision. When you make your own, you get exactly what you want. That custom pattern for your living room wall? That's yours to create. The initials you want to stencil onto gifts? Done. The intricate detail you've sketched out? Now possible.
Plus, there's something genuinely satisfying about using a stencil you've made yourself. It feels personal. It feels like yours.
Template Creation Basics
Let's start with the fundamentals. A good stencil template needs three things: a clear design, proper spacing, and sturdy material. Your design is the foundation - it needs to be detailed enough to be interesting but simple enough that you can actually cut it out. Too much fine detail and you'll end up with fragile bridges (those are the thin bits that hold stencils together). Too simple and it won't look like much when you use it.
The spacing between design elements matters enormously. Stencils work because of negative space - the areas you don't paint. Get this wrong and your design falls apart, literally. You need bridges of material holding everything together, typically at least 3-5mm wide depending on your final stencil size.
Your design also needs to be the right size for your project. A stencil for a small craft project is completely different from one for a garden wall. Scale matters. A lot.
Materials and Tools You'll Need
Here's where you make a choice that affects everything else. Your template material determines how precise you can be and how long your stencil lasts.
Paper and cardboard are the quickest starting point. You can sketch directly, and they're forgiving if you make mistakes. Expect them to wear out relatively quickly though, especially with liquid mediums. A paper stencil might manage 10-20 uses before it starts falling apart.
Plastic sheets - mylar or acetate - are my go-to for most projects. They're durable, transparent (so you can see exactly where you're placing them), and they'll handle dozens of uses without degrading. A quality plastic stencil easily manages 100+ applications. They're more expensive upfront but brilliant value over time.
Foam board works well if you need something sturdy and easy to cut. It's not transparent, but it's forgiving if your cuts aren't perfectly clean.
For cutting, you've got options depending on your design complexity:
- Craft knife or utility knife - good for simple designs with smooth curves
- Cutting mat - essential, otherwise you'll destroy your work surface
- Metal ruler - for straight edges, keeps your knife from skipping
- Detail knife - for smaller, more intricate work
- Hot stencil cutter - if you're using plastic, this makes clean cuts remarkably easily
If you've got access to design software, many people use laser cutters or even dedicated stencil-cutting machines for precision. That said, hand-cutting teaches you a lot about design constraints, and the results are often just as good.
Step-by-Step Template Making
Step 1: Create or Finalise Your Design
Start with a sketch or digital design. Honestly, pencil on paper works fine. Think about size - measure your space or surface. Sketch at full scale if possible. This prevents nasty surprises when you start cutting.
Check your bridges. Look at each element and make sure nothing's floating. Everything needs to be connected or it'll drop out when you cut. I usually trace over my design with a highlighter, checking that the paths of material all connect.
Step 2: Transfer Your Design
If you're using paper or plastic, transfer your design clearly. You can tape your sketch underneath transparent plastic and trace over it, or print your design directly onto your material if you're working digitally.
For opaque materials, carbon paper or a pencil rubbing works. Just press hard.
Step 3: Prepare Your Workspace
Clear space. Protect your surface. You don't want to cut into your table. Get good lighting - you'll strain your eyes otherwise. Have a waste bin nearby for scraps.
Step 4: Cut Carefully
This is where precision matters. Use smooth, controlled motions. Don't hack at the material - let your cutting tool do the work. For curves, rotate the material rather than twisting the knife. It gives you much better control.
Work from the centre outward if possible. This keeps you from accidentally snapping off pieces you've already cut.
Take breaks. Seriously. Concentration lapses lead to mistakes, and mistakes are annoying when you're 20 minutes into a cut.
Step 5: Test and Refine
Before you commit to using your stencil for something important, test it. Use it once on scrap paper or cardboard. Does everything work? Are the bridges strong enough? Does the design look right at this scale?
Make adjustments if needed. Stencils aren't permanent - if a bridge is too weak, you can reinforce it. If something looks off, fix it now.
Making Templates That Last
Quality matters here. A well-made template pays for itself quickly because it actually lasts through multiple projects. Rough cuts and weak bridges are the main reasons stencils fail.
Take time with your cutting. Yes, it's slower, but a clean cut is a strong cut. Burrs and jagged edges weaken the material and your stencil won't last.
Store templates properly. Flat is better than rolled - rolled stencils develop creases that can lead to cracks. Keep them away from heat and direct sunlight if they're plastic.
Streamline Your Template Making
Here's the practical bit: if you're making templates regularly, you want to save time. This is where tools become genuinely helpful. LINK: Stencil Cutting Techniques can teach you efficiency tricks, but honestly, investing in better equipment - whether that's a hot cutter, a cutting mat with measurements, or even stencil-making software - pays dividends.
For repeat designs, digital templates are absolute game-changers. You can refine once, then produce perfect copies consistently.
The Easy Route
I'll be honest - making templates by hand is rewarding but time-consuming. If you're creating templates regularly, you might want to explore FSM Pro. It's designed specifically for this: creating, refining, and producing templates without the manual labour. For intricate designs or if you're doing this professionally, it's worth investigating.
Either way, whether you're hand-cutting or using dedicated software, the principle is the same: good design, proper bridges, quality materials, and careful execution.
Start simple. Make your first template something straightforward - maybe a basic geometric pattern or simple lettering. Learn how the material behaves, understand the cuts, and build from there. Your second template will be easier. Your tenth will feel effortless.
What's Next?
Once you've mastered template creation, LINK: Stencil Materials for Beginners will help you choose the right material for your next project. And when you're ready to tackle more complex designs, LINK: Stencil Cutting Techniques covers the advanced methods that separate good results from brilliant ones.
Make perfect templates with FSM Pro - your new go-to tool!
Ready to make your own stencil?
Start Making Stencils