Getting Started with Multi-Layer Stencil Making: A Complete Beginner's Guide
Learn how to create stunning multi-layer stencils from any photo. This step-by-step guide covers everything from choosing the right image to cutting and painting your first stencil.
Getting Started with Multi-Layer Stencil Making
Multi-layer stencils transform ordinary photos into striking artwork. Whether you're spray painting on canvas, cutting vinyl with a Cricut, or laser-cutting wood, the process starts the same way — turning a photograph into clean, separated layers.
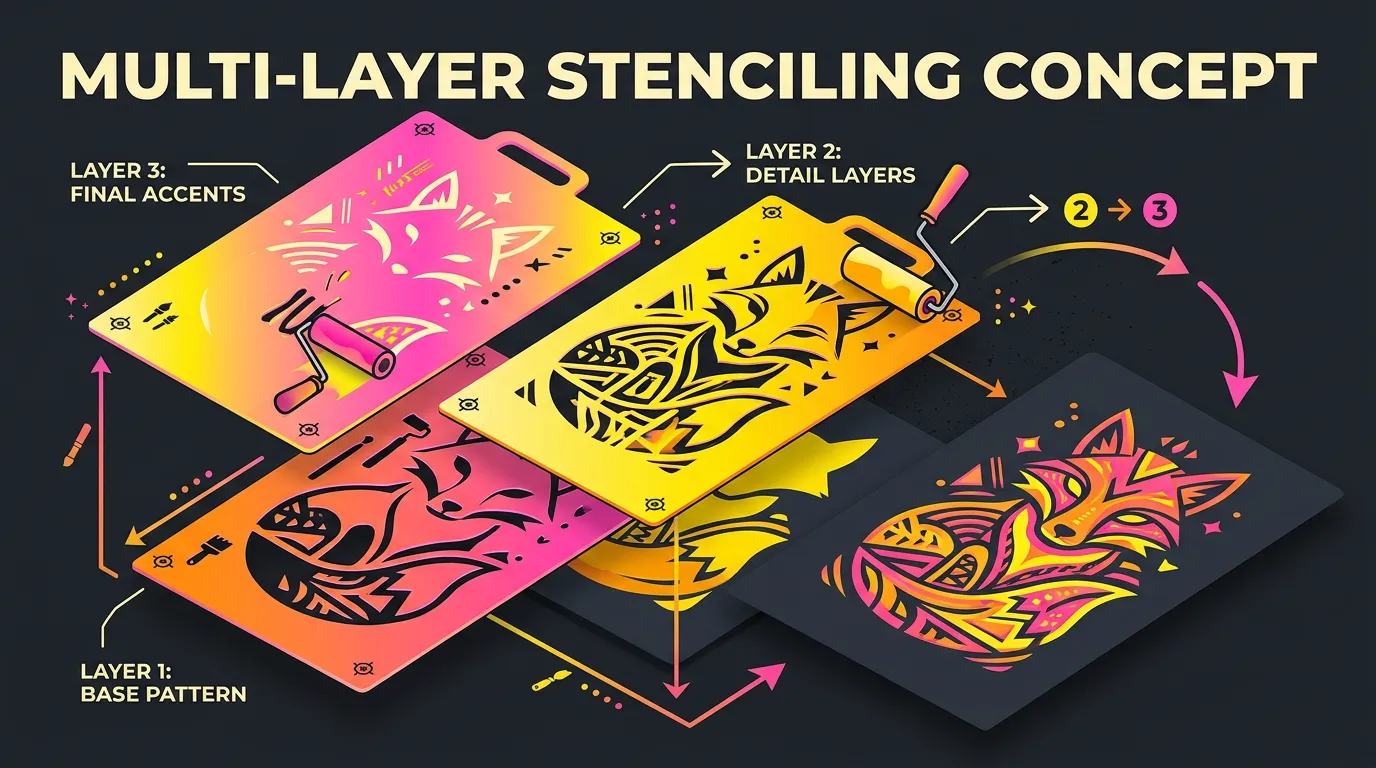
What Is a Multi-Layer Stencil?
A traditional stencil uses a single cut-out to apply one colour. A multi-layer stencil splits an image into several layers — typically 2 to 6 — each representing a different shade or tone. When you stack and paint these layers in order, the result is a detailed, photorealistic piece of art.
Think of it like screen printing: each layer adds depth and detail that a single layer can't achieve on its own.
Choosing the Right Image
Not every photo makes a great stencil. Here's what to look for:
- High contrast — Images with strong light and shadow areas convert best
- Clear subject — Portraits, pets, and bold objects work better than busy landscapes
- Good lighting — Side-lit or dramatically lit photos create natural layer separation
- Simple backgrounds — Busy backgrounds create noise in your stencil
Pro tip: Black and white photos or images with strong shadows are the easiest to start with. You can always increase contrast in the editor.
The Stencil Making Process
Step 1: Upload Your Image
Head to Free Stencil Maker and upload your photo. The tool accepts JPG, PNG, and WebP formats.
Step 2: Adjust Your Layers
The editor automatically splits your image into layers based on tonal values. You can fine-tune each layer with:
- Threshold — Controls the cutoff point between black and white for each layer
- Contrast — Increases or decreases the tonal range
- Brightness — Shifts the overall tone lighter or darker
- Smoothing — Reduces noise and small details that are hard to cut
Step 3: Bridge Your Islands
This is the most important step for physical stencils. Islands are areas that would fall out when you cut the stencil — like the centre of the letter "O". The bridging tool automatically detects these islands and adds small connecting bridges to hold everything together.
Step 4: Export and Cut
Export your stencil in the format you need:
- SVG — Best for Cricut, Silhouette, and other cutting machines
- PDF — Perfect for hand-cutting with a craft knife
- DXF — Ideal for laser cutters and CNC machines
Tips for Your First Stencil
- Start with 2-3 layers — More layers = more detail, but also more alignment work
- Use registration marks — These alignment guides ensure your layers line up perfectly
- Test on paper first — Before committing to expensive material, do a test run on card stock
- Spray from 20-30cm away — Light, even coats prevent paint bleeding under the stencil
- Let each layer dry completely — Patience between layers prevents smudging
What Materials Do You Need?
| Material | Best For | Cost |
|---|---|---|
| Card stock | Practice and quick projects | Low |
| Mylar sheets | Reusable stencils | Medium |
| Adhesive vinyl | Cricut/Silhouette projects | Medium |
| Acetate | Detailed work with paint | Low |
| Thin plywood | Laser-cut stencils | Higher |
Ready to Create Your First Stencil?
The best way to learn is by doing. Upload a photo and experiment with the controls — you'll get a feel for what works within minutes.
Ready to make your own stencil?
Start Making Stencils